Laser-cut details
|
When a modelling friend bought a laser cutter, it was obvious that some of its output would end up on BE, especially as I regularly use CAD for my drawing needs.
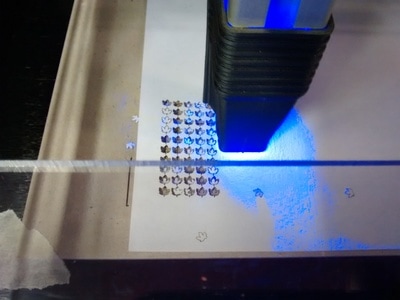
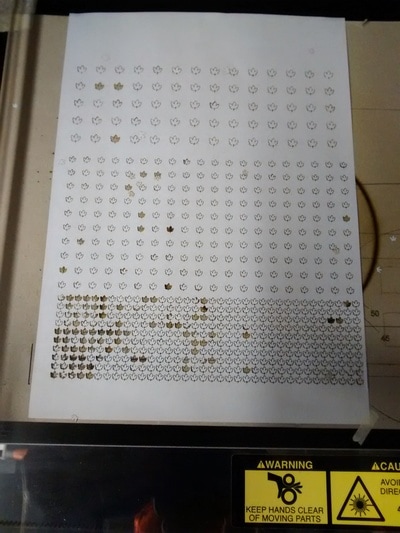
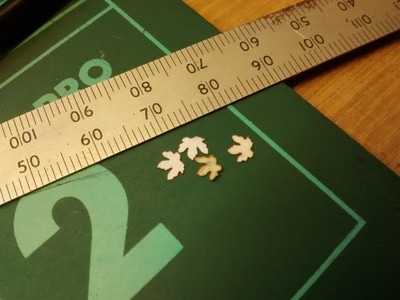
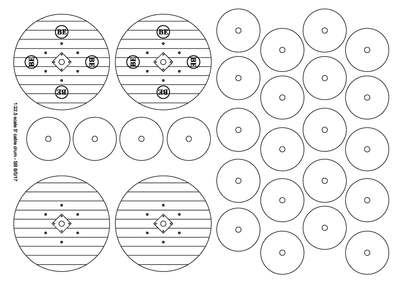
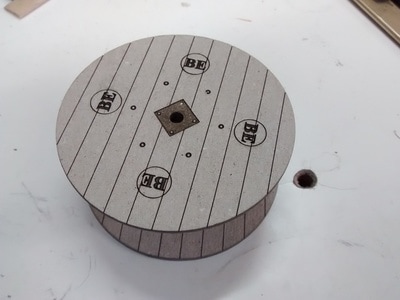
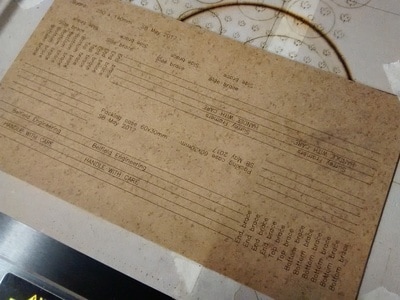
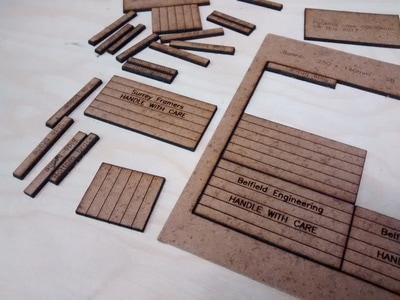
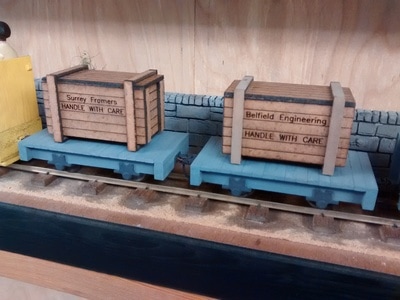
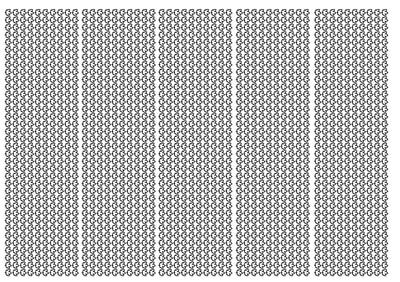
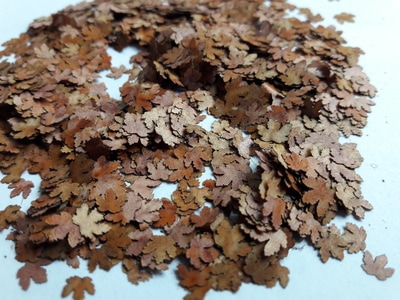
Briefly, drawings are separated into layers comprising details requiring different depths of cut. Each layer is sent in turn, after applying parameters - power, speed and number of passes. Successive layers with different parameters are then sent or resent, until the project is complete. This all takes lots of experimentation, which is all part of the learning curve and is great fun. For a test session, I created three drawings - a sheet of sycamore leaves, a cable drum and a pair of packing cases. These were cut out using paper, card and 2mm MDF respectively. The MDF was provided by my local picture framer - Surrey Framers - who use it to provide the backing sheet. |
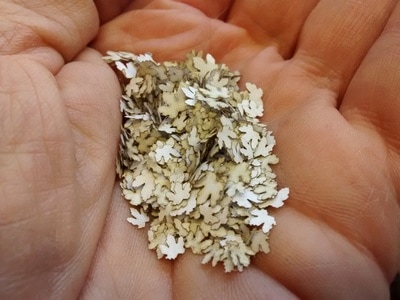
The paper should have been coloured nice autumnal shades, but I forgot to prepare it, so they were white. The sheet also had different sizes and spacings, all for test purposes. The results were impressive.
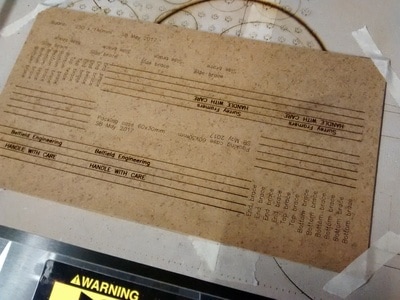
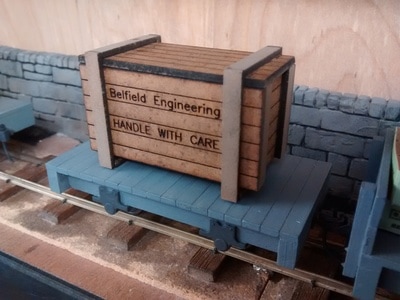
The cable drum had some areas of bold text and wide lines, to test how the DXF file conversion worked. This failed to convert, but those details were added using the cut-preparation software. To speed things up, more tests are required to make sure the drawing contains all of the required information. The 1.5mm cardboard required two passes to cut right through. The packing cases were less successful as the MDF is much denser. Many more passes were needed for the etch, and charring was quite visible along the cuts. The edges also have a slight taper due to the number of passes and laser focusing. More tests are required to use this otherwise lovely material. |
The unit is an Emblazer 1, designed and made by Darkly Labs, in Australia. It uses a 4w laser, which is 1/10th the power of other lasers for the home/small business market.

